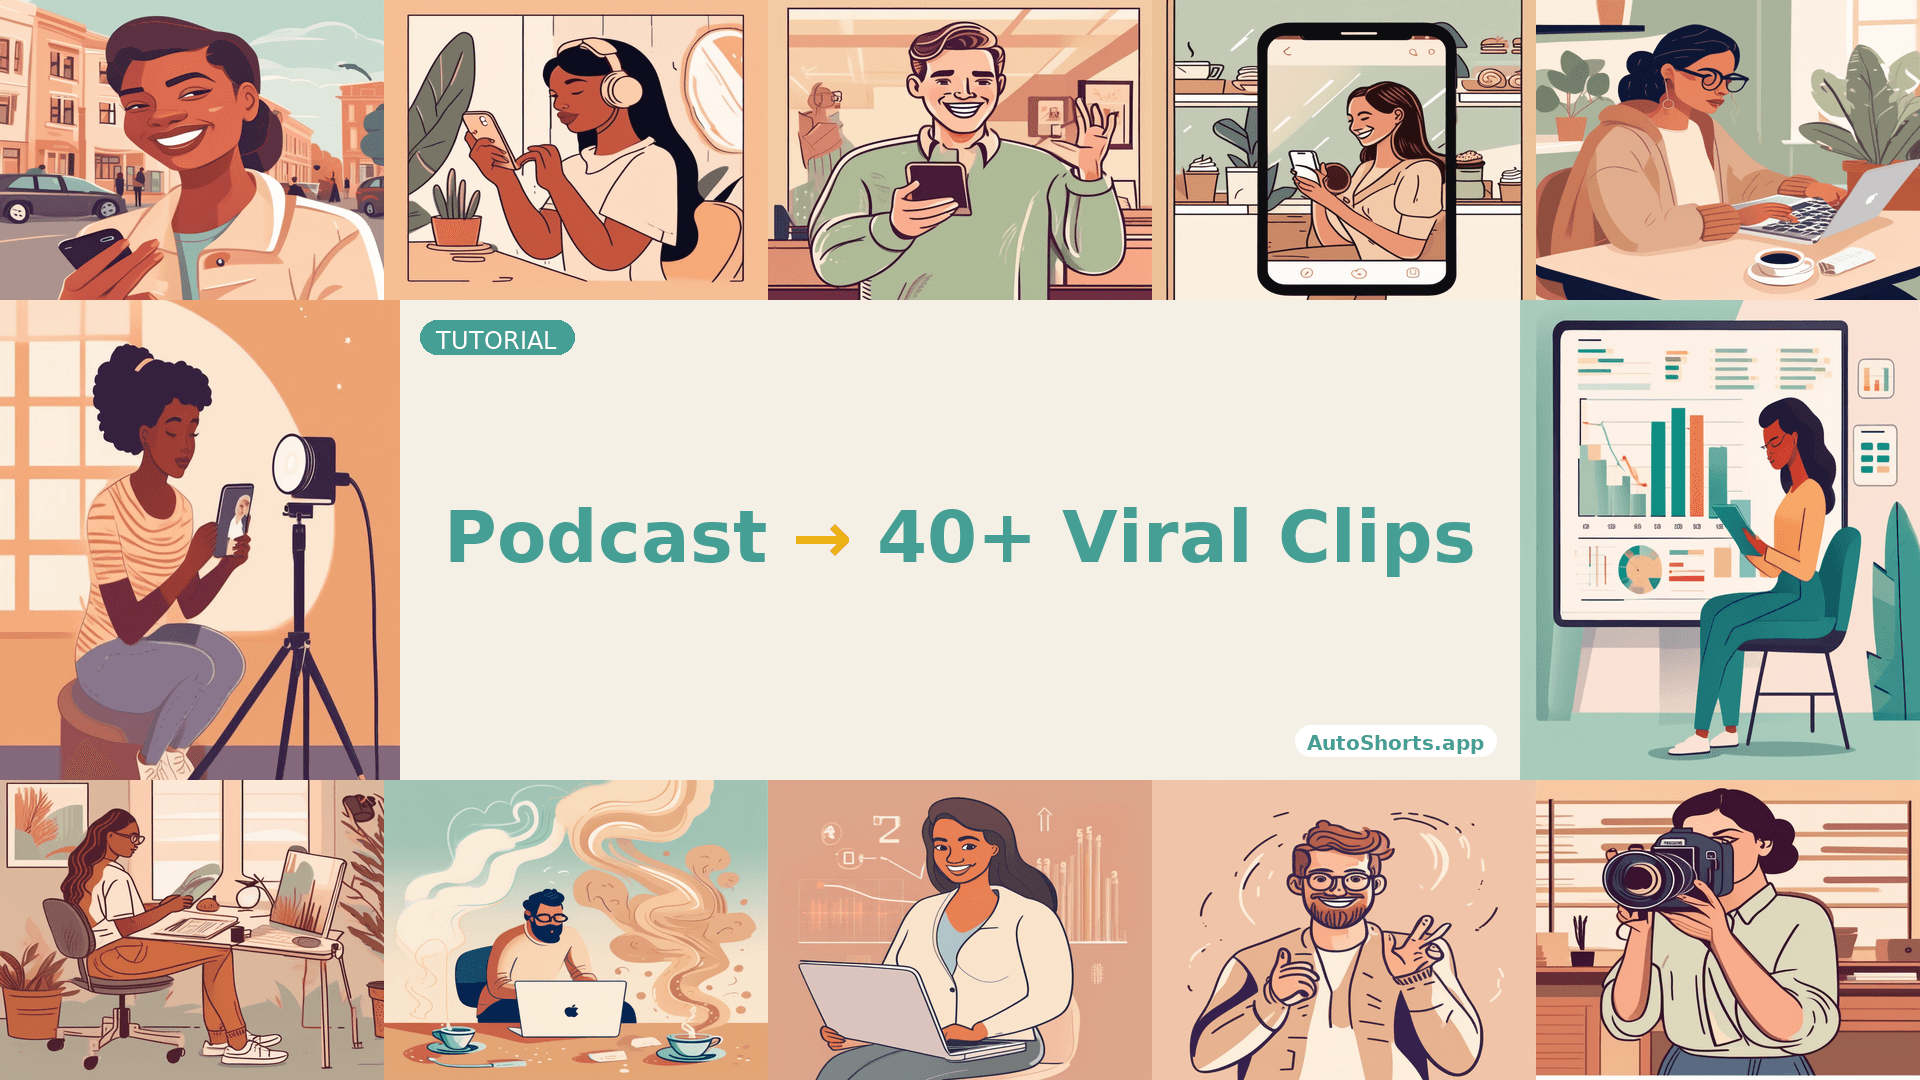
Launch your video podcast in 2026 with our complete beginner guide. Learn essential equipment, setup tips, and distribution strategies without breaking the bank.
Video Podcast Introduction
Video podcasting isn't a luxury anymore—it's essential for getting discovered. If you've been thinking about launching a podcast in 2026, here's the reality check: audio-only shows are becoming increasingly invisible to the algorithms that actually drive listeners to new content. Platforms like YouTube, Spotify, and Apple Podcasts now prioritize video content in their recommendations, which means your brilliant audio-only show might never reach the audiences it deserves.
But here's the good news: you don't need a fancy studio, expensive equipment, or months of planning to get started.
This guide walks you through launching a professional video podcast without breaking the bank or building a studio. You'll learn exactly what equipment you actually need (spoiler: it's probably less than you think), how to set up a production-ready space in your home, and the most efficient distribution strategy to reach audiences across every major platform. Whether you're a complete beginner or you've dabbled in content creation before, we'll break down each step into manageable pieces so you can go from zero to publishing your first episode with confidence.
Ready to join the growing community of video podcasters? Let's dive in.
Now that you're ready to take the plunge, let's talk about what you actually need to get started—and the good news is you don't need to break the bank. We'll walk you through the essential equipment options at every price point so you can build a starter kit that fits your budget.
Essential Equipment for Every Budget: Finding Your Video Podcast Starter Kit
Here's the truth that nobody wants to hear: you don't need expensive gear to start a video podcast. The biggest barrier to entry isn't your equipment budget—it's actually your willingness to hit record and publish. That said, there are smart ways to invest your money that'll set you up for success without breaking the bank. According to Talks, creators can launch professional-looking video podcasts across three distinct budget tiers, each offering unique advantages depending on where you are in your content journey.
The key insight? Audio quality trumps video quality every single time. Your audience will forgive a slightly grainy camera feed, but they'll immediately click away if they can't hear you clearly. This simple truth changes everything about how you should allocate your budget. Rather than dropping $1,500 on a cinema camera, invest in a solid microphone first, then build your setup around it. Let's break down exactly what works at each budget level.
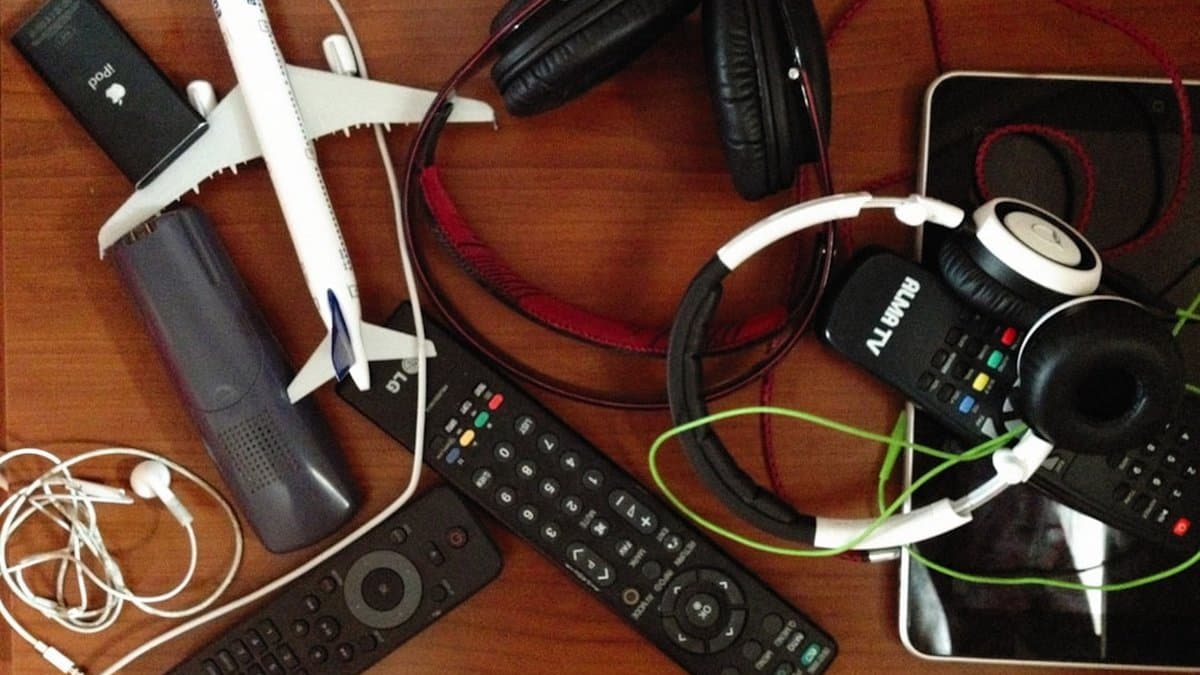
Budget-Friendly Setup ($300-500)
This is your "let's test the waters" tier, and it's actually more capable than you'd think. Your smartphone camera—yes, the one in your pocket right now—shoots video that rivals equipment from just a few years ago. Modern smartphone sensors deliver broadcast-quality video in good lighting conditions, making expensive cameras completely optional for beginners.
Your budget should look something like this: allocate roughly $80-120 for a USB microphone (Audio-Technica AT2020USB or similar), $40-80 for a basic ring light or affordable desk lamp, and $30-50 for a phone tripod. The remaining budget covers simple props, backdrop material, or even a basic editing software subscription. USB microphones eliminate the confusing audio routing that intimidates new creators—you literally just plug it in and start recording.
Pro Tip: Position your setup near a window during daytime recording. Natural light is free and often looks better than cheap artificial lighting setups.
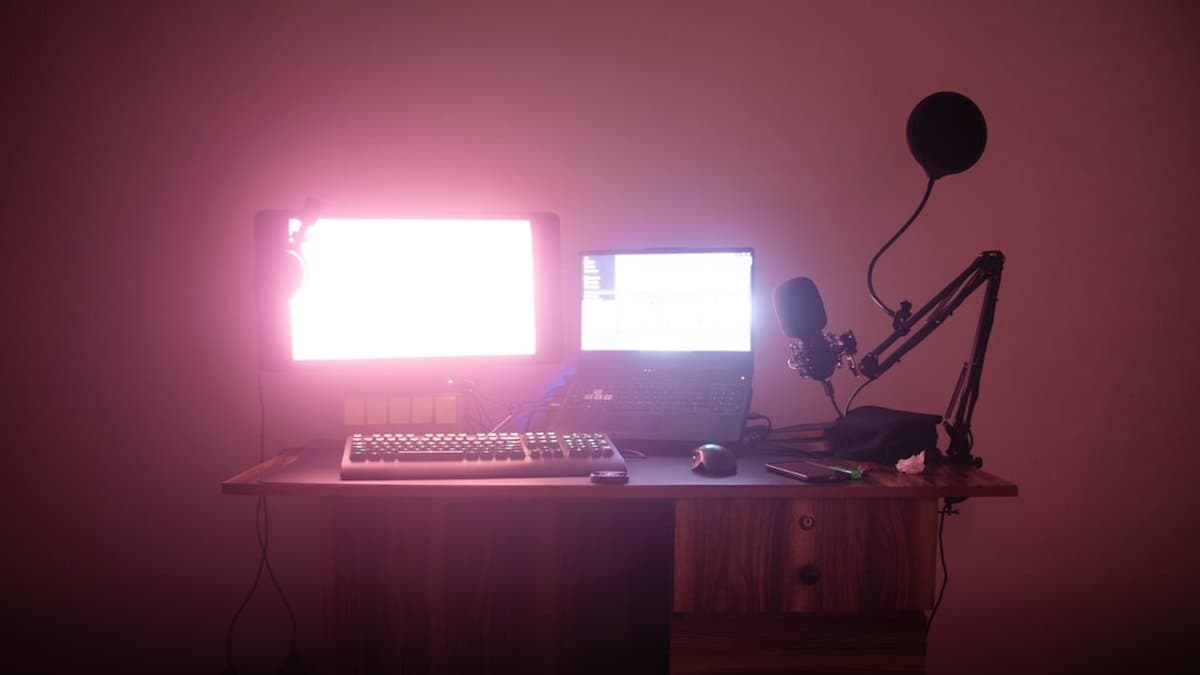
Mid-Range Professional Setup ($500-1000)
Once you've validated your concept and found your rhythm, this tier lets you upgrade without scrapping everything you've learned. Invest in an entry-level mirrorless camera ($400-600), a dedicated cardioid microphone with an audio interface ($150-250), and proper lighting equipment like a 2-light softbox kit ($100-150). This setup gives you noticeably better video control—manual focus, interchangeable lenses, and superior color grading potential—while maintaining audio as your priority.
The beauty of mid-range gear is that it grows with you. These components remain relevant for years because they're not trendy gadgets—they're professional tools. According to PSS Media, creators who invest at this level typically see improved audience retention due to better production values, but only when audio quality matches the video quality.
Warning: Don't upgrade your camera before upgrading your microphone. Bad audio kills shows. Good audio saves mediocre video.
When to Upgrade: Scaling Without Starting Over
The worst mistake new creators make is buying everything at once, then abandoning the project because it feels overwhelming. Start simple and add incrementally. Your initial setup should feel manageable—something you can operate solo without a technical manual. Each piece you add should solve a specific problem you've actually encountered, not a hypothetical one.
When you're ready to upgrade, the beauty of starting lean is that nothing goes to waste. That USB microphone becomes backup equipment. Your phone tripod works for B-roll filming. The ring light moves to your home office. This incremental approach means you're never throwing away money on gear you've outgrown—you're building a complete studio ecosystem over time.
Key Point: Budget equipment forces you to develop better techniques. You'll learn proper mic placement, lighting angles, and framing because you can't rely on expensive gear to compensate for poor fundamentals.
The bottom line: your first video podcast setup should cost between $300-500, emphasize audio quality above all else, and use tools you're already comfortable with (like your smartphone). This removes friction from publishing and lets you focus on the only thing that actually matters—creating great content.
Now that you're ready to hit record without overthinking your setup, let's talk about how to make sure what you're actually recording looks and sounds as good as it feels. We'll walk through the simple tweaks you can make to your space—no fancy equipment required—to take your content from good to genuinely professional.
Designing Your Home Video Podcast Studio: Space, Lighting & Sound
You don't need a fancy studio to create professional-looking video podcast content. In fact, according to PSS Media, the most successful creators in 2026 are focusing on authentic setups that reflect their personal brand rather than generic studio aesthetics. The key is understanding three core elements: your recording location, lighting setup, and acoustic environment. Master these, and you'll produce content that rivals anything coming from expensive production facilities.
Choosing the Right Recording Location
Any quiet room in your home can become a podcast studio—you just need to think strategically about sound and background. Your bedroom, home office, or even that spare closet can work exceptionally well. In fact, bedroom closets provide excellent natural sound isolation because the soft materials (clothing, textiles, etc.) absorb echo naturally. If a closet feels too cramped, a spare bedroom with curtains or soft furnishings works just as well.
When selecting your space, look for rooms with minimal outside noise. Test it by recording 30 seconds of silence and listening back—if you hear traffic, HVAC systems, or neighbor noise, find a different location. Your background matters just as much as your audio quality. A simple bookshelf with interesting books, potted plants, or a branded backdrop keeps viewers visually engaged and establishes credibility without requiring expensive set design.
Pro Tip: Position your camera so the background complements your brand. Avoid cluttered spaces or blank walls that create that sterile "corporate meeting" vibe.
Mastering Lighting Without Professional Gear
Professional lighting doesn't require professional equipment—it requires understanding three-point lighting basics: a key light (your main light source), a fill light (to soften shadows), and a back light (to create separation from the background). This combination prevents that flat, unflattering "Zoom call" appearance that makes viewers tune out immediately.
Your key light should come from a 45-degree angle to your face—this could be a simple desk lamp with a daylight bulb, a ring light under $50, or even natural window light. The fill light can be as simple as reflecting that light with a white foam board. For your back light, position any secondary light source behind you, slightly off to the side. According to Talks, creators who invest in even basic three-point setups see measurably better audience retention in their opening 30 seconds.
Natural lighting is free but tricky—windows create glare and harsh shadows that shift throughout the day. If you use window light, record during consistent daylight hours (mid-morning or early afternoon works best) or supplement with affordable artificial lighting. Never position yourself directly facing a bright window, as this backlighting makes your face appear in shadow.
- Position your key light at 45 degrees to your face
- Use a fill light or white foam board to soften shadows
- Add a back light for visual separation
- Test your setup by recording a 60-second sample and reviewing it
Creating Acoustic Control on a Budget
Echo and background noise are podcast killers, but acoustic treatment doesn't require expensive soundproofing. A simple foam panel behind your chair reduces echo and improves audio quality significantly—you can purchase basic acoustic foam panels for $15-30 each. Even DIY options like hanging moving blankets or heavy curtains behind your recording spot absorb sound reflections.
Soft furnishings are your secret weapon here. Carpet, curtains, cushions, and upholstered furniture naturally absorb sound, which is why closets work so well. Hard surfaces like glass, tile, and bare walls create reflections that make your audio sound hollow and distant. If you're recording in a room with hard floors, add a rug. If there's a bare wall behind you, hang curtains or foam panels.
Key Point: You need acoustic treatment only in the recording area, not your entire room. Focus foam panels and soft materials around your recording position and microphone.
The investment here is minimal but the payoff is massive. Viewers might forgive mediocre lighting occasionally, but poor audio quality causes them to click away immediately. With just $30-50 in basic acoustic materials, you'll sound like you're in a professional studio rather than a bedroom, and that's what keeps listeners coming back episode after episode.
Now that you've got your space sounding great, let's talk about actually capturing that professional quality when you hit record. In this section, we'll walk through the practical techniques that'll help you nail consistent, polished audio every single time.
Recording Like a Pro: Techniques That Deliver Consistent Quality
Now that you've got your space dialed in, it's time to focus on the actual recording techniques that separate amateur content from professional-looking shows. The difference between good and great video podcasts isn't just about expensive gear—it's about understanding how to use what you have strategically. In this section, we'll walk through the specific recording practices that ensure consistent, high-quality output every single time you hit that record button.
Camera Positioning and Framing Fundamentals
Your camera position sets the tone for how viewers perceive you and your guests. According to PSS Media, proper camera positioning is one of the most overlooked yet impactful elements of professional video podcasting. Position your camera at eye level or slightly below—this creates a flattering angle that feels natural and encourages genuine viewer engagement. When the camera looks down at you, it creates psychological distance. When it looks up, it can feel awkward or unflattering. Eye level (or just slightly lower) is the sweet spot.
For resolution, shoot at 1080p minimum. Here's a practical reality check: 4K sounds impressive, but it creates massive file sizes that make editing slower and distribution more complicated. Most platforms compress your video anyway, so you won't see a noticeable quality difference, but you'll definitely feel the storage and processing headaches. Stick with 1080p at 30fps or 60fps depending on your editing style—both deliver professional results without the technical overhead.
Pro Tip: Frame yourself with a bit of headroom (about 10-15% of the frame above your head), and keep your shoulders at a slight angle rather than facing perfectly straight to the camera. This creates more dynamic, engaging framing.
Audio Recording Best Practices
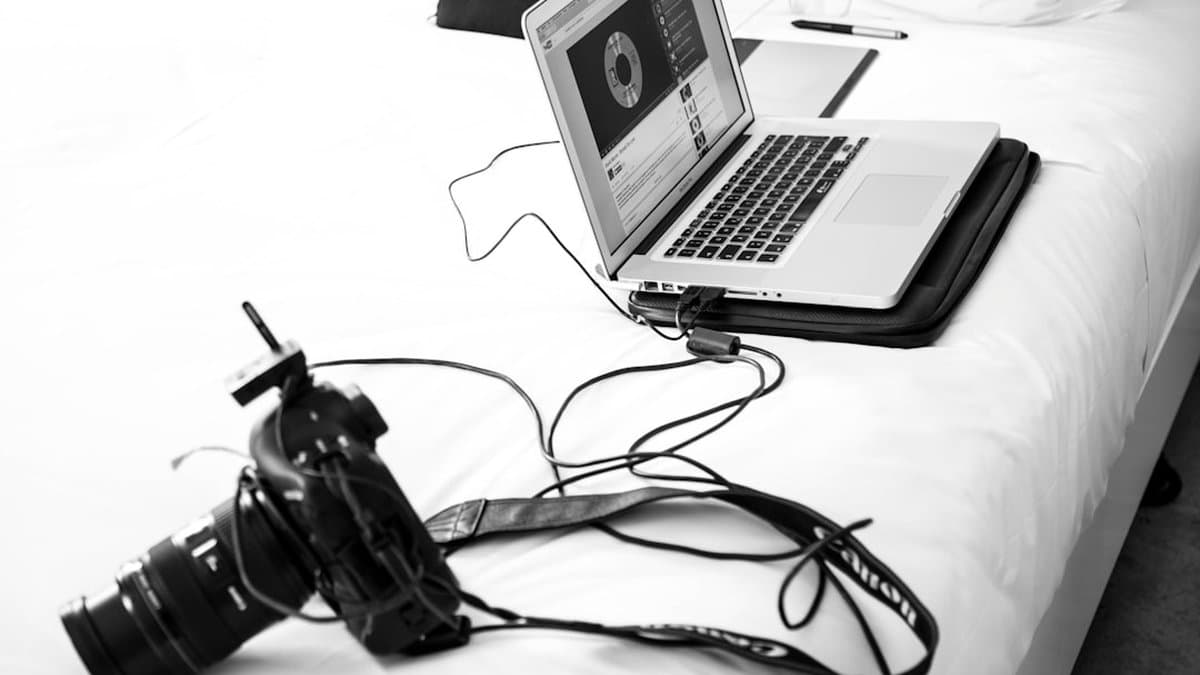
Here's something that surprises many beginner podcasters: never rely solely on your camera's built-in microphone, even if it sounds acceptable during your test run. Onboard camera microphones pick up every keystroke, background noise, and room reflection. They're genuinely the weakest link in your recording chain. Instead, invest in a quality USB or XLR microphone positioned 6-8 inches from your mouth.
When recording, use lossless audio formats whenever possible (like WAV or FLAC rather than compressed MP3). This gives you maximum flexibility during editing and prevents quality degradation. Set your microphone levels conservatively—aim for peaks around -6dB to -3dB rather than pushing to 0dB, which risks digital clipping if you get excited during recording and raise your voice unexpectedly.
- Position your microphone 6-8 inches from your mouth
- Set levels to peak at -6dB to -3dB (not maxed out)
- Use lossless audio formats (WAV preferred over MP3)
- Monitor your audio levels live during recording
- Record in the quietest room available
Managing Guest Quality in Remote Recordings
Remote guests present a unique challenge because you have no control over their setup or internet connection. The solution? Have them record locally on their own device while you video conference together, then send you the high-quality file afterward. This bypasses compression from video conferencing platforms entirely.
Before you ever go live, test your entire setup 15 minutes before recording. Check camera focus, verify microphone levels, and confirm internet stability. Ask your guest to do the same. A simple checklist prevents 90% of recording disasters—fuzzy video, audio dropouts, or connection freezes mid-conversation.
Warning: Never rely exclusively on Zoom, Teams, or Skype audio for your final recording. The compression from these platforms degrades sound quality noticeably. Always use local recordings as your primary audio source.
According to Talks, podcasters who implement pre-recording setup checks experience 85% fewer technical issues during actual recording sessions. When your guests understand this workflow and practice it beforehand, your episode quality becomes predictable and reliable—which is exactly what you need as you scale your show.
Now that you've nailed the recording process and have consistent, reliable audio coming in, it's time to talk about what happens next—because even the best raw recordings need the right finishing touches. Let's dive into how you can edit and produce your episodes efficiently without cutting any corners on quality.
Editing and Production Workflow: Speed Up Without Sacrificing Quality
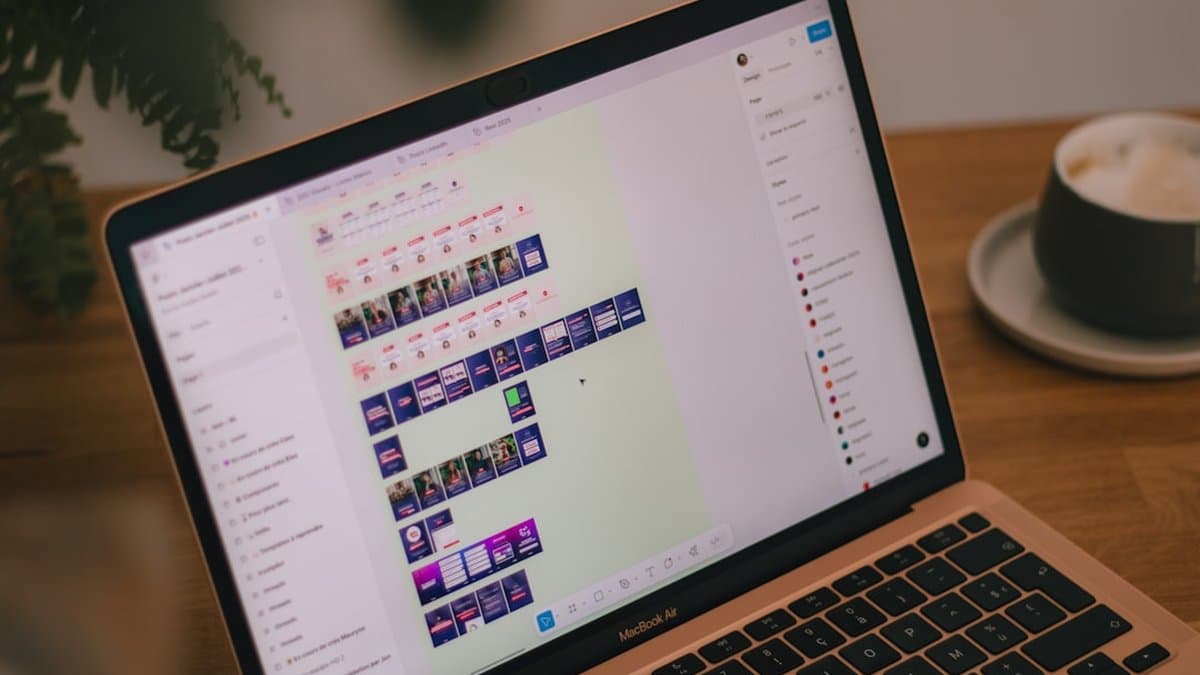
You've recorded your episode, and now comes the part that separates casual creators from serious podcasters—the edit. Here's the reality: editing can eat up your entire week if you're not strategic about it. But with the right software, smart automation, and a repeatable workflow, you can turn a 45-minute episode into polished, multi-platform content in just a few hours. Let's break down how to do it efficiently without compromising quality.
Choosing Editing Software That Scales With You
Your editing software choice depends entirely on your budget and ambitions. If you're serious about professional-grade results, Adobe Premiere Pro and DaVinci Resolve are industry standards that handle complex workflows, color grading, and advanced effects seamlessly. Premiere Pro integrates beautifully with your entire Adobe ecosystem, while DaVinci Resolve (which has a free version) is genuinely powerful enough to compete with paid options.
But here's the honest truth: if you're just starting out, you don't need to invest hundreds of dollars monthly. According to PSS Media, tools like CapCut and ScreenFlow deliver solid results at zero cost. CapCut's mobile-first interface makes quick edits surprisingly fast, while ScreenFlow is perfect if you're doing screen-based content. The key is choosing software that won't become a bottleneck as you grow.
Pro Tip: Start with whatever software feels intuitive to you—switching later is painful. Invest in the professional version only when your workflow demands it.
AI-Assisted Editing Tools Transform Workflows
This is where editing gets genuinely exciting. AI-powered assistants have evolved dramatically, and they're now handling tasks that used to consume hours of your time. According to Tyx Studios, modern AI editing tools can automatically remove silence, normalize audio levels, apply color correction, and generate captions in minutes—not hours.
Tools are now intelligent enough to detect awkward pauses, identify your best talking points, and even suggest where to cut for pacing. This means you're not staring at a timeline trying to decide where to trim—the AI highlights opportunities, and you approve. For caption generation specifically, platforms like Descript handle this beautifully, syncing text to your speech with impressive accuracy.
Key Point: AI editing doesn't replace your creative judgment—it eliminates tedious busywork so you can focus on storytelling.
Preparing Content for Multi-Platform Distribution
Here's where efficiency multiplies your reach. Rather than editing one version of your episode, think strategically about exporting for different platforms simultaneously. Export your full episode in 1080p for YouTube as your primary master file. Then, without re-editing, create vertical cuts in a 9:16 aspect ratio optimized for TikTok and Instagram Reels.
This isn't extra work if you plan for it. Use templates for recurring elements—your intro, outro, and lower thirds should be identical every episode. Building these templates once and reusing them cuts editing sessions from 4-5 hours down to just 2-3 hours per episode. That's a game-changer for consistency and sanity.
Here's the multiplier effect: one 45-minute episode should generate 5-10 short clips for social media. A funny moment from minute 32? That's a 15-second TikTok. A surprising statistic you mentioned? Another clip. This approach increases your reach by approximately 300% with minimal extra effort—you're already editing anyway.
- Export master file in 1080p for YouTube
- Create one 9:16 vertical version for TikTok/Reels
- Extract 5-10 short clips (15-60 seconds each)
- Batch upload clips across platforms on a schedule
- Repurpose text highlights as static social posts
Warning: Don't skip the vertical formatting step. Vertical content outperforms landscape on TikTok and Instagram by a significant margin—it's not optional if you want those platforms working for you.
The workflow becomes a rhythm: record, edit with templates and AI assistance, export multiple formats, clip aggressively for social, and publish. What once felt like an overwhelming production nightmare becomes a predictable, manageable process that actually multiplies your content's impact.
Now that you've got a bulletproof system for creating and repurposing your content, it's time to make sure the right people actually find it. Let's dive into the strategic moves you need to make so your podcast gets discovered across all the platforms where your audience hangs out.
Strategic Distribution: Getting Your Podcast Discovered Across Platforms
You've recorded and edited a fantastic episode—now what? Getting your podcast in front of people is just as important as creating it. According to PSS Media, successful video podcasters don't rely on a single platform. Instead, they strategically distribute their content across multiple channels, each optimized for that platform's unique algorithm and audience behavior. The key is understanding where your content performs best and tailoring your approach accordingly.
Pro Tip: Each platform has its own algorithm—what works on TikTok won't work the same way on LinkedIn. Think of distribution as translation, not just uploading the same file everywhere.
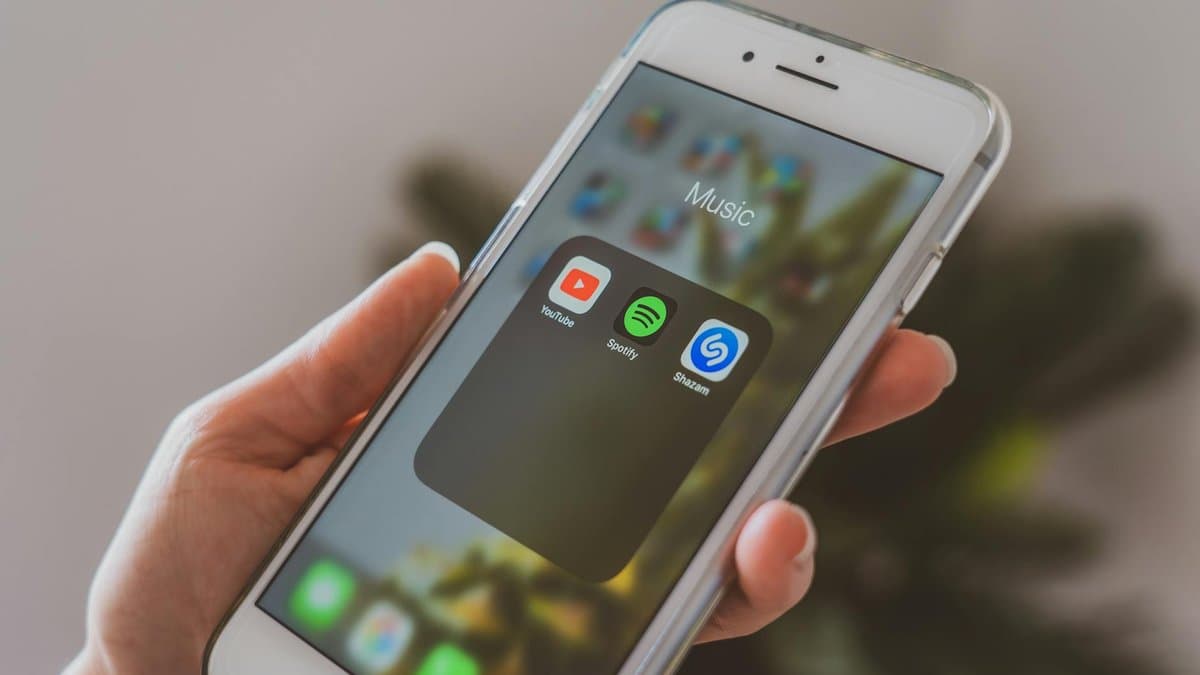
Publishing Full Episodes: Where They Actually Get Found
YouTube is your primary home for full-length episodes, and for good reason. Upload your complete episodes with timestamped chapters in the description, detailed show notes packed with relevant keywords, and custom thumbnails that actually stand out. YouTube's algorithm favors watch time and click-through rate, so those thumbnails matter more than you might think.
For traditional podcast platforms like Spotify and Apple Podcasts, you don't need to do anything manually. These platforms pull your content directly from your podcast host's RSS feed—whether you're using Anchor, Podbean, or Transistor. This means investing in quality metadata at the source (your podcast hosting platform) benefits everything downstream. Write compelling episode titles, detailed descriptions with keywords, and choose appropriate categories. Your podcast host is the foundation; everything else builds from there.
Key Point: Your podcast host's metadata is your single source of truth. Get it right once, and it distributes everywhere automatically.
Creating Platform-Specific Short-Form Content
This is where the magic of repurposing happens. One full episode can generate dozens of short-form clips, each optimized for different platforms with different audience expectations.
TikTok's algorithm rewards watch time and shares over follower count, making it ideal for viral short clips. The platform loves trending sounds, hooks that grab attention in the first second, and authentic energy. Extract your most controversial, funny, or surprising 15-60 second moments. Add trending audio, on-screen text, and hook viewers immediately. TikTok watchers scroll fast—you have roughly one second to stop them mid-scroll.
Instagram Reels and YouTube Shorts prioritize vertical content with captions. These platforms favor watch completion rate, so tight editing and clear value propositions matter. The good news? Repurposing clips here requires minimal editing effort. Add captions for accessibility and engagement (people watch videos silently on their feeds), and you're done. Both platforms reward consistency—posting 3-4 times per week will boost your visibility.
LinkedIn works completely differently. This platform actually penalizes overly promotional content and rewards thoughtful discussion. Post 60-90 second clips discussing industry insights, lessons learned, or behind-the-scenes podcast moments. Frame your content around professional development or thought leadership rather than entertainment. A LinkedIn audience expects substance, so make sure your clips deliver genuine value.
TikTok
Fast-paced, trending sounds, 15-60 seconds, maximum entertainment value
Instagram Reels
Vertical, captioned, 15-90 seconds, polished aesthetic
Professional insights, 60-90 seconds, thought leadership focus
Optimizing Metadata and Thumbnails for Algorithm Performance
This is the unglamorous work that actually moves the needle on discovery. According to YouTube, custom thumbnails can increase click-through rate by 20-30%. Create thumbnail templates that include your face (yes, really—faces get clicks), bold text highlighting the episode's main topic, and consistent branding colors. Your thumbnail takes two seconds to create but influences whether someone clicks on your episode.
For metadata across all platforms, think like a search engine. Use keywords naturally in your titles and descriptions—not keyword-stuffed, but genuinely relevant. "My Thoughts on AI" gets buried. "Why AI Will Change Podcasting in 2026" tells both algorithms and humans what to expect.
- Write compelling titles with keywords front-loaded
- Create detailed descriptions (200+ words minimum for YouTube)
- Design custom thumbnails with faces and bold text
- Use consistent tagging and categories across platforms
- Add timestamps/chapters to long-form content
- Test different thumbnail styles and track performance
Distribution isn't one-and-done—it's an ongoing optimization process. Track which platforms send you engaged viewers versus casual browsers, and double down on what works for your specific audience.
Once you've nailed down where your audience hangs out and how they engage, it's time to think about the bigger picture—turning those listeners into a sustainable business. Let's explore the monetization strategies and growth tactics that can transform your podcast from a passion project into a thriving venture.
Monetization and Growth: Building a Sustainable Podcast Business
You've built consistency, grown an audience, and established yourself as a creator worth listening to. Now comes the part every podcaster thinks about: actually making money from all that hard work. The truth? Monetization isn't something you bolt on at the end—it's a strategy you build into your podcast from month one. Let's walk through the realistic timeline for turning listeners into revenue.
Early Revenue Streams (Months 1-6)
Your first monetization moves don't require a massive audience. The earliest opportunity is building an email list from day one, and this is your most valuable asset. Email subscribers convert to buyers at 3-5x higher rates than social media followers, making this foundational work worth every effort. Start capturing emails with a simple call-to-action in your show notes or during your episodes—even 50 subscribers on day one compounds into serious revenue potential by month six.
As you cross 5,000-10,000 monthly listeners, sponsorships become realistic. According to PSS Media, this is when relevant brands start taking you seriously. Start pitching companies aligned with your niche—you don't need permission, just consistent numbers to back up your value proposition. Sponsorship deals typically range from $500-$2,000 per episode depending on your audience size and engagement, far outpacing ad revenue for most creators.
Pro Tip: Don't wait for sponsors to approach you. Create a simple one-page media kit showing listener count, demographics, and engagement rates—then pitch five relevant brands this week.
YouTube's Partner Program requires 1,000 subscribers and 4,000 watch hours, but here's the honest truth: this revenue stream matters far less than sponsorships. Ad revenue typically generates $100-$500 monthly for most podcasters, while a single sponsor deal eclipses that in one episode.
Scaling Growth With Audience Loyalty
The most effective growth accelerator isn't paid ads—it's guest collaborations and cross-promotions. Prioritize relationship building over buying ads. When you interview industry figures or collaborate with complementary creators, you tap into their audience while providing genuine value to yours. This multiplier effect drives exponential growth without the cost.
Your email list becomes your growth engine at this stage. Segment subscribers by interest and create exclusive content drops or early-access episodes for engaged listeners. This loyalty translates directly into higher sponsorship rates because you can prove not just audience size, but genuine engagement and trust.
Key Point: Sponsorship rates increase 40-60% when you can show sponsors your audience actually opens emails and takes action, not just listens passively.
Advanced Monetization Strategies
Once you've nailed consistent sponsorships and built a loyal subscriber base, repurposing podcast content into digital products unlocks significantly higher margins. Courses, templates, one-on-one coaching, or group coaching programs generate 5-10x more revenue per customer than ad deals alone.
The path looks like this: create valuable podcast content → build audience trust → identify their biggest pain point → create a digital product solving that problem → sell to your email list. Your podcast becomes the lead generation machine, while your digital products become the profit center.
- Batch record 4-6 episodes monthly to stay ahead
- Build your email list with every episode
- Pitch 3-5 sponsors once you hit consistent listener numbers
- Launch your first digital product by month nine
- Cross-promote with three creators in your niche this quarter
The creators building sustainable six-figure podcast businesses aren't chasing ad revenue—they're building owned audiences through email, monetizing with sponsorships, and creating digital products that scale without recording more content. Start with monetization infrastructure today, and revenue compounds naturally as your audience grows.
Now that you've got the roadmap for building sustainable revenue streams, let's wrap up what you've learned and create your action plan. The good news is that you don't need to implement everything at once—you just need to pick your starting point and move forward.
Conclusion
You're ready. Seriously—you have everything you need to launch your video podcast right now.
Here's what we've covered: you don't need thousands of dollars or a professional studio. A $300-1000 investment in basic equipment, consistent publishing, and smart distribution will take you further than expensive gear ever could. The real secret? Audio quality and consistency matter infinitely more than production perfection. And when you repurpose each episode into 5-10 short clips, you're multiplying your reach without multiplying your workload.
But here's the honest part: growth takes patience. Expect 6-12 months before monetization kicks in. That's normal. That's actually how it works for creators who succeed. Your distribution strategy will determine discoverability far more than your content alone, so optimize for each platform's algorithm and audience behavior.
Here's what happens next: Start recording your first episode this week using equipment you already own. Forget perfection—focus on audio quality and consistency. Once you've published three episodes on YouTube and your podcast host, use tools like AutoShorts to automate your short-form clip creation and caption generation, freeing you to focus on what actually matters: creating content people want to share.
The video podcast revolution isn't coming in 2026—it's happening now. And you're about to be part of it.
Frequently asked questions
No, you don't need expensive gear to launch a professional video podcast. The biggest barrier to entry isn't your budget—it's your willingness to hit record and publish. Your smartphone camera already shoots broadcast-quality video in good lighting, and you can get started with a budget-friendly setup of just $300-500 by prioritizing audio quality over video equipment.
Platforms like YouTube, Spotify, and Apple Podcasts now prioritize video content in their recommendations, making audio-only shows increasingly invisible to the algorithms that drive listener discovery. Video podcasting generates 1200% more shares than text and images combined, and video formats represent the fastest-growing segment of the podcasting industry with 35% audience growth in 2025.
Always invest in audio quality first, then build your setup around it. Your audience will forgive a slightly grainy camera feed, but they'll immediately click away if they can't hear you clearly. This means allocating your budget to a solid microphone before spending money on expensive cameras or studio equipment.
The most efficient strategy is to publish your content on major platforms like YouTube, Spotify, and Apple Podcasts, while also repurposing vertical video content for social media clips on TikTok and YouTube Shorts. Vertical formats are now crucial for podcast discoverability and algorithmic reach in 2026, so creating short-form clips from your episodes maximizes your content's reach.
Absolutely—you can build a professional-looking home studio with minimal investment by starting with your smartphone camera and a quality microphone. The blog provides budget-tier recommendations and setup guidance that show how to create a broadcast-quality video podcast studio without expensive professional equipment or dedicated studio space.
Beginners should explore AI-assisted editing tools and automation software that streamline the production workflow and reduce manual editing time. These modern solutions allow you to focus on content quality while handling repetitive tasks, making the entire video podcast production process more efficient and manageable for first-time creators.